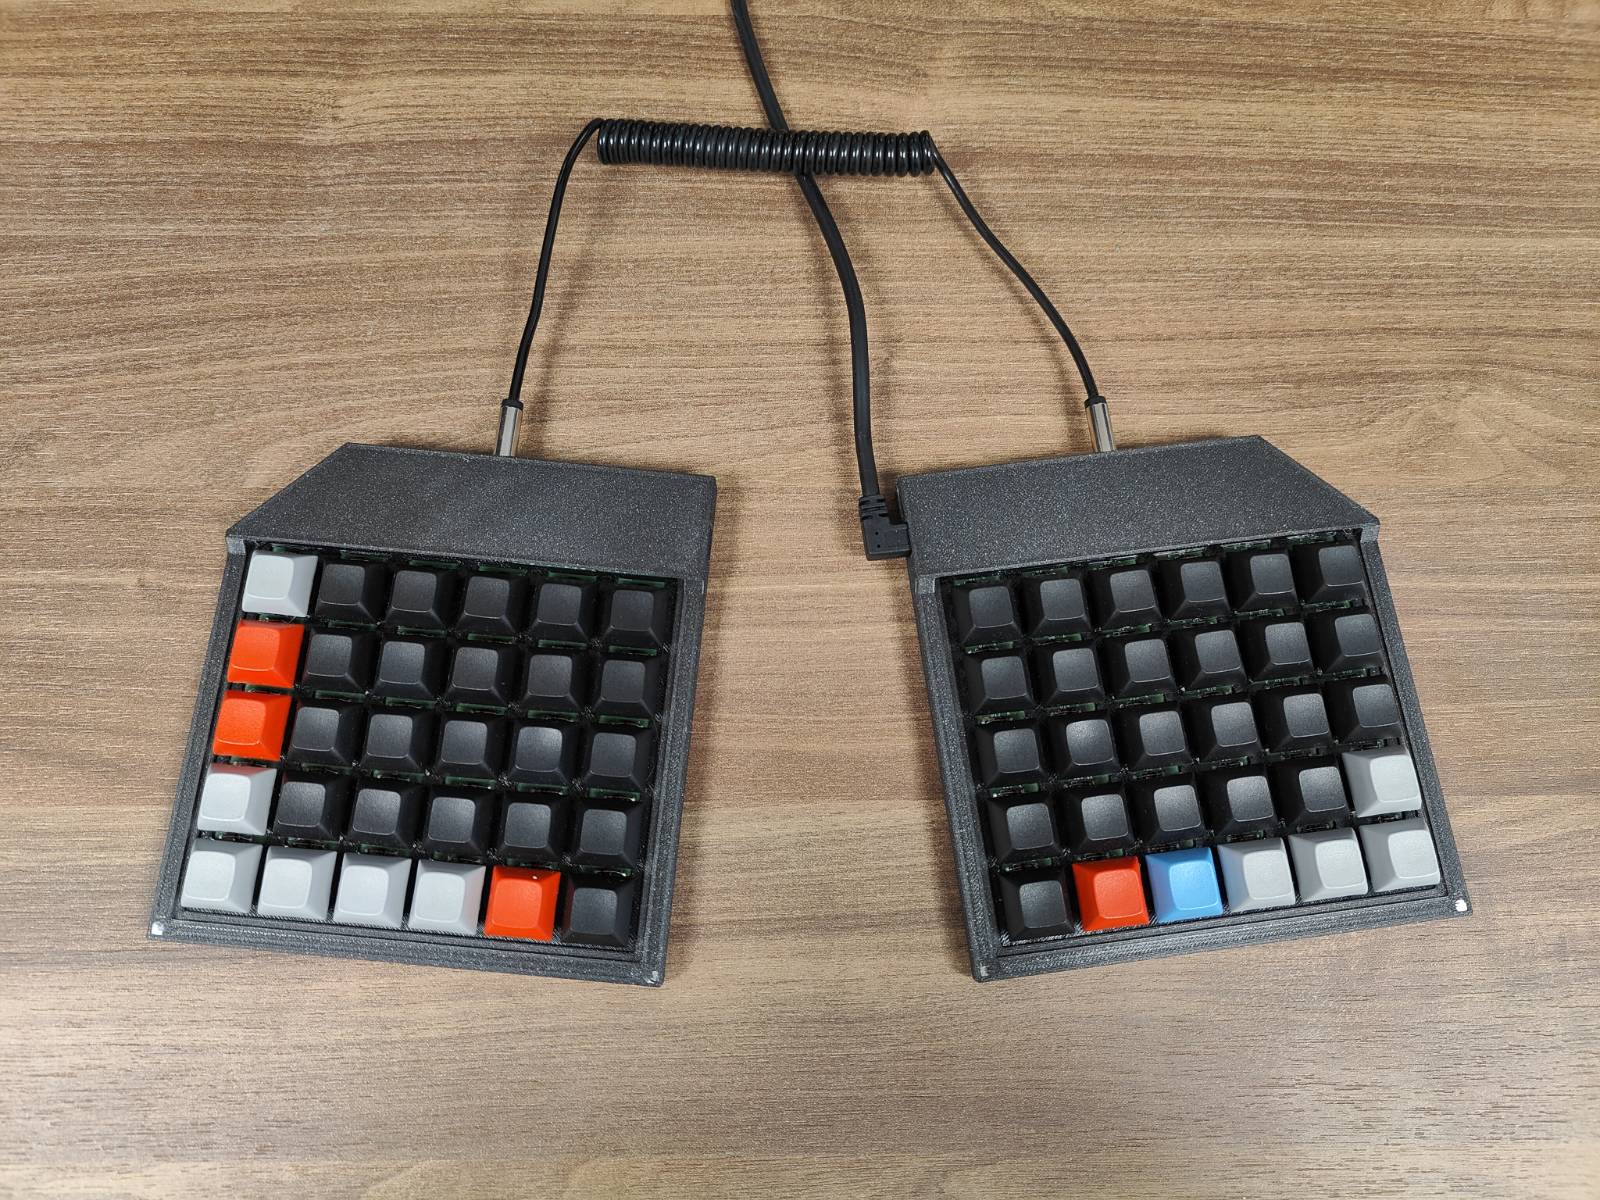
5×6‑Split‑KB (rev1)
An ergonomic split keyboard designed for comfort, low height, and simplicity—without thumb clusters or wrist rests.
Design Philosophy
After using the Planck keyboard for over 10 years, I found that common shortcuts—especially involving numbers—often require awkward finger gymnastics. This keyboard is an attempt to create something more comfortable and intuitive in those situations.
I also chose to remove the thumb cluster entirely, as I personally don't find them ergonomic. This layout avoids strain and keeps all keys within easy reach of the fingers.
Key ergonomic decisions include:
- Low Profile: With a total height of just 19.4 mm, no wrist rest is needed.
- Split Layout: Modeled after the Ergodox, allowing natural shoulder-width hand positioning.
- No Thumb Cluster: Reduces thumb strain by omitting thumb-specific keys.
Specifications
- Layout: 5 rows × 6 columns per side (ortholinear grid)
- Total Height: 19.4 mm
- Split Connection: TRRS 3.5mm audio cable (easy to find and replace)
- Microcontroller: Raspberry Pi Pico (one per half)
- PCB: Reversible; same board used for both left and right
- Assembly Method:
- Held together with 2×4 mm magnets
- Requires super glue for final enclosure fit
Ordering Info
- You'll need to order 2× copies of the same PCB
- Designed for AISLER, but probably compatible with other PCB manufacturers.
- On aisler you can simply upload the kicad pcb file directly.
- 2x Raspberry Pi Pico.
- 1x Usb micro b cable.
- 60x Kailh choc v2 switches.
- 60x 1u cherry mx compatible keycaps.
- 1x TRRS 3.5mm audio cable.
- 2x SMD TRRS connectors similar to this one.
- Schematic is available on the site so that you find one with the same pinout and dimensions.
- 60x 1N4148 diodes.
- 14-22x small round rubber feet (optional, for the bottom of the case).
- 10x 2×4 mm magnets for holding the chassi together.
3d printing
Will be updated as soon as i upload the 3d models.
For the right side:
- 1x top dampener
- 1x bot dampener
For the left side:
- 1x top dampener Mirror this piece to make it for the left side
- 1x bot dampener Mirror this piece to make it for the left side
Assembly
For each side:
- Solder the TRRS connector.
- Solder the Raspberry Pi Pico.
- Solder the diodes.
- Put the top dampener in place on top of the PCB.
- Solder the switches.
- Put the keycaps on the switches.
- It should now look like this.
- Put on the rubber feet on the bottom of the case (optional).
- Super glue the magnets to the bottom chassi.
- Place the bot dampener in the bottom chassi.
- Place the PCB assembly on top of the bot dampener.
- Place the top chassi piece up side down and super glue the magnets in place.
- Important: Make sure that you glue the magnets in the right direction so that they attract each other.
- Place the top chassi piece on top of the PCB assembly.
Flashing the firmware
- Dissconnect the TRRS cable if you have it connected.
- While holding the reset button on the Raspberry Pi Pico, connect it to your computer via USB.
- Add steps on how to flash the firmware here once available.
- Do the same thing for the other half.
- Dissconnect the kyboard from the computer and connect the TRRS cable.
- Connect the keyboard to your computer.
- You should now be able to use the keyboard.
Image Gallery
Click to view:
🔗 Firmware
Firmware is based on QMK.
A link to the readme file will be added here as soon as he firmware branch is merged into the main repository.
